The email distribution via eSurveyCreator.com is quite simple and it allows you, to achieve a maximum response rate with minimum input.
After creating and activating your survey, you will be able to enter all the information in the tab “Email distribution”.
1. Write a message
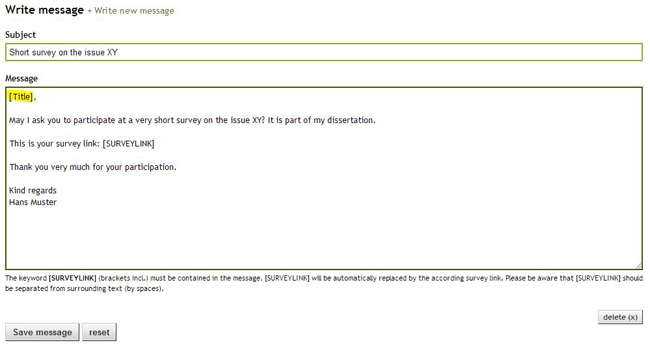
Here you can write the message for the recipients of your email. Please be aware, that the term [SURVEYLINK] needs to be included. This keyword (incl. square brackets) will be automatically replaced by the respective survey link by executing the mass distibution.
You can create any number of different messages (depending on the recipient group).

Please note that the keyword [SURVEYLINK] has to be detached (not directly aside other content) and has to be separated with a space from the rest of the text.
2. Enter recipients
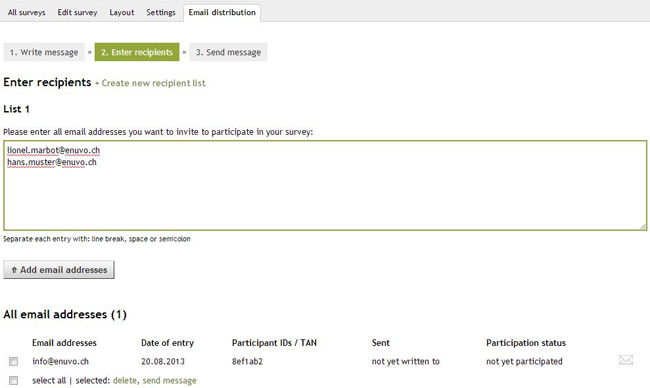
The recipients of your message can be entered in the open text box. You just have to separate the email addresses wtih line break, space or semicolon.
It is possible to create as many different lists as you like. By using diverse recipient lists you are able to design your mass mailings individually (e.g. for a formal message and for a message to your friends).
Take email addresses over from dynamic content
If you use dynamic contents, you can automatically take over the email addresses with just one click.
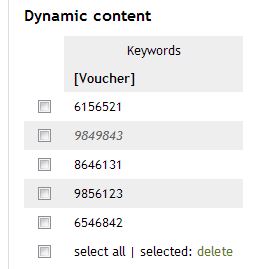
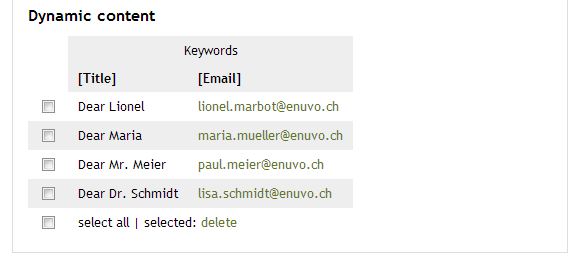
Supposing this is your dynamic content,
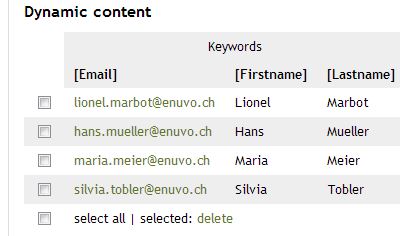
you can select the keyword [Email] and click on “Take over the email addresses” in “Enter recipients”.

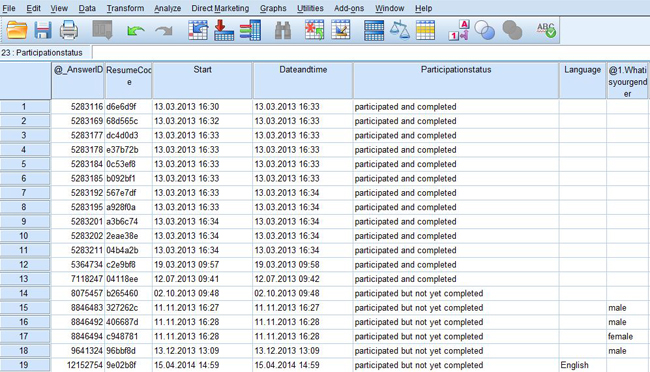
This way all the single rows of the dynamic content will be automatically linked with the answers of the respective participant in the evaluation. In the export of the survey results you will find all the responses as well as the dynamic content listed per participant. Please see the example below:

3. Send message
Enter a short description of the distribution (internal name), select a message (in the case you have several messages), which should be sent and choose the recipients (recipient list), who should be contacted.
Furthermore you can pick a “mode of distribution”. You have three different options:
All: Write to everyone in the chosen recipient list
Reminder Email: Write only to those people who have already received a message but have not yet participated in the survey (until the end)
New: Write only to those people in the selected recipient list who haven’t received any messages so far
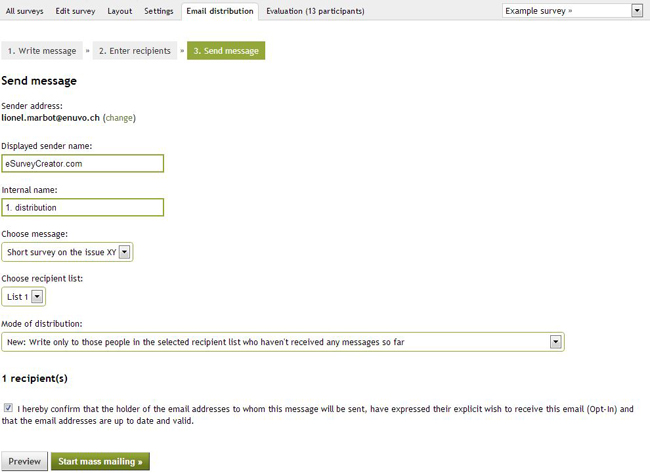
Right before the start of the mass mailing you can have a look at the preview of the emails.

After you have activated your survey and have observed all instructions in “Email distribution”, you can start the mass mailing.
Subsequently the distribution will be moved to the waiting queue. It will be executed as soon as possible (depending on the backlog it can take from a few minutes up to several hours). You will get an automatic email notification once the distribution is completed.
Contact single recipients of a list
You are not only able to send your invitation emails to an entire list of recipients. It is also possible to choose single participants and to contact them individually. Such individual distributions can be done in step 2 of the email distribution process (Enter recipients). You just have to select all the recipients who should be contacted and then click on “send message” at the bottom of the list. If you want to send an email to a single person, you can simply click on the respective envelope on the right side of the screen.

Personalised emails
Do you want to contact your participants personally? E.g. to address the participants by their names? This is very easy as well. Please see this simple example:
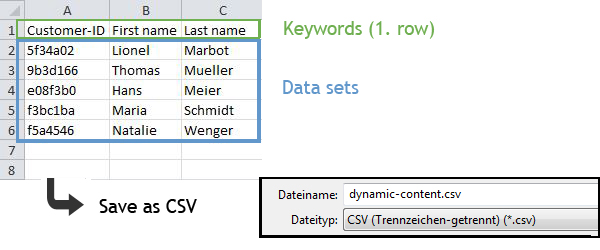
Just create an Excel- or CSV-file with the email addresses of the partcipants and add the required columns. In this example the column “Title” will be used to address the recipients personally. You can use as many different columns as you like.
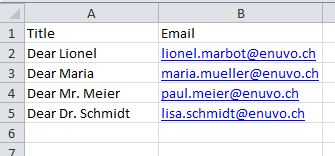
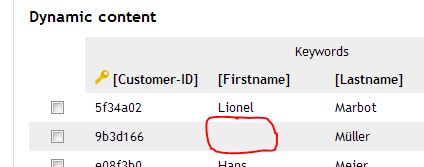
This list can be uploaded in the “settings” of you survey in“dynamic content”. The keywords [Title] and [Email] are well emphasised.
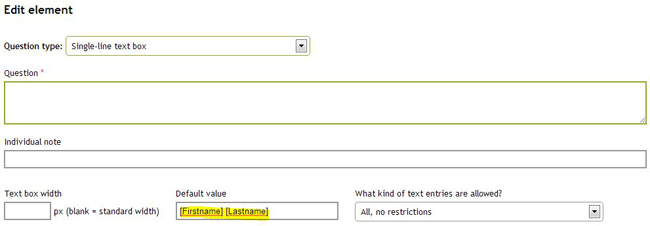
Now you can write a message in “Email distribution”, which will be sent to the potential participants. As title you can use the keyword [Title]. It will be automatically replaced by the data you definied in the Excel file you have uploaded before.
As a next step the email addresses of the dynamic content will be adopted. For that purpose just select the respective keyword with the email addresses and click on “take over”. In the above mentioned example it is the term [Email].

Now the result can be seen in the preview of the mass mailing. The keyword [Title] was successfully replaced by “Dear Lionel” (as primarily defined). So each recipient will receive a personalised message.

The sent messages can still be reviewed afterwards: Show sent invitation emails
Hint: The use of dynamic content respectively personalised emails is only available with the product “Pro” and higher. However the email distribution can be used with all our products.

